How to Change the Color of Clothes in a Photo with AI
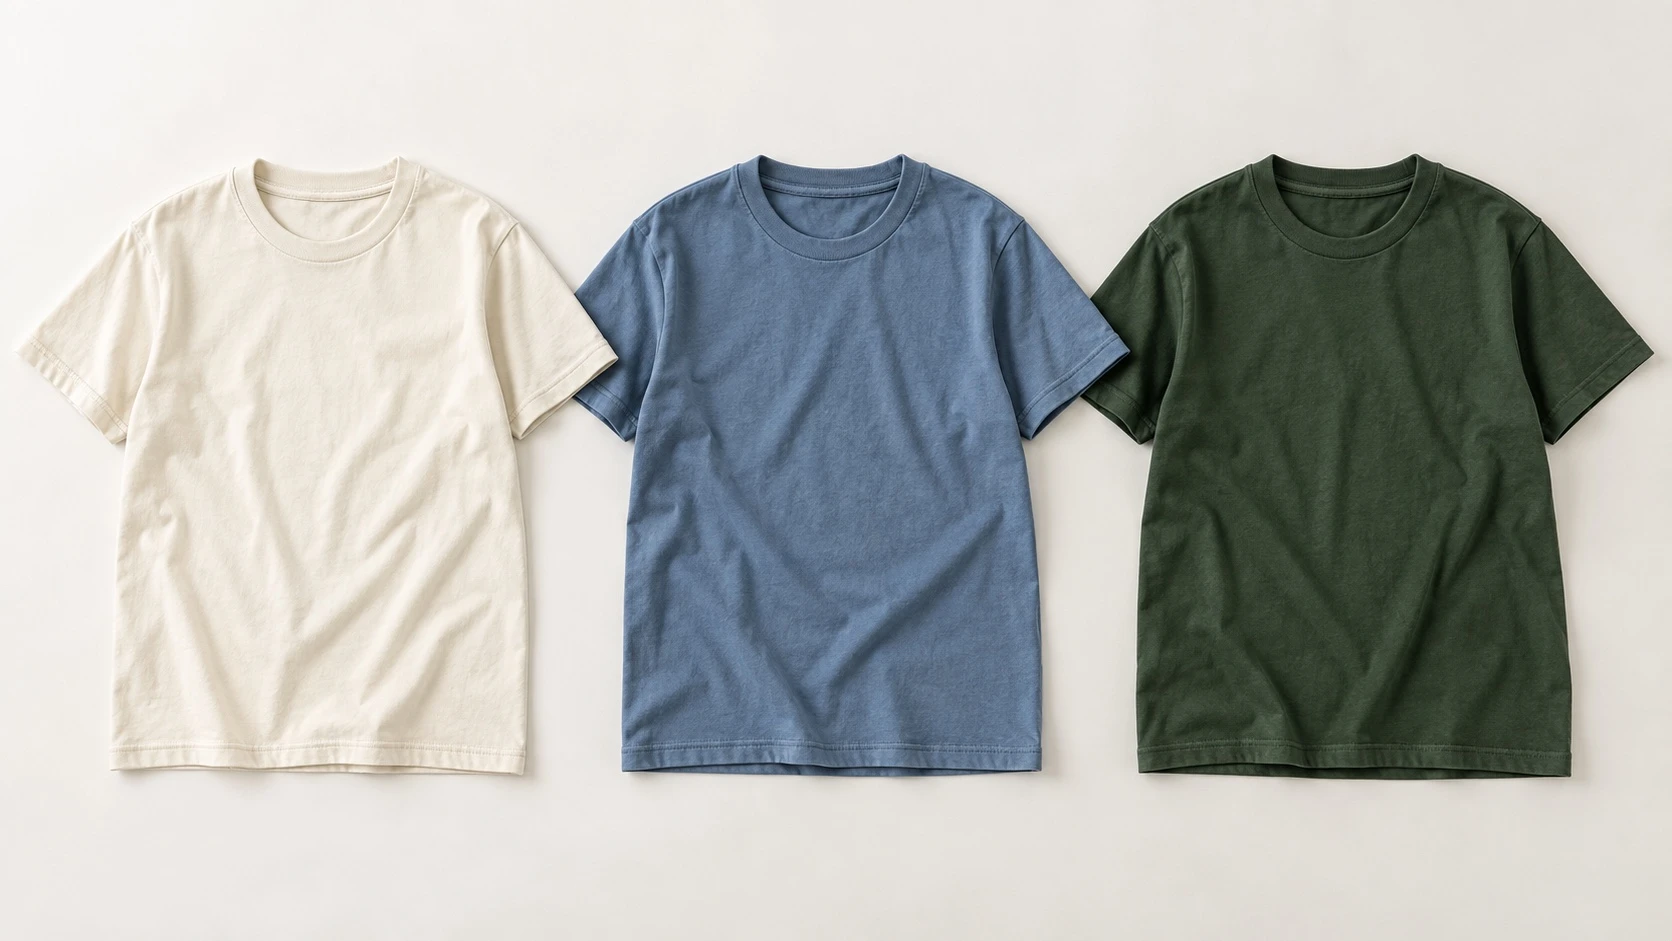
By the Taupix Team. Last updated September 2026.
Changing the color of clothes in a photo is a focused edit: the garment should take on a new color while its shape, seams, folds, and the rest of the image stay recognizable. An AI clothes color changer can help explore colorways from a single photo, especially when the clothing is clearly visible. You may also see this described as clothing color change or changing the colour of clothes; the basic workflow is the same.
The most useful instruction names the garment, the new color, and what to preserve. This guide covers a simple workflow, prompt examples, and the details to review before using the result.
Common color-edit mistakes—and how to avoid them
A color edit can look wrong when it turns fabric into a flat block of color, removes the original shadows, or spills onto skin and nearby objects. The stronger result changes the intended garment while preserving its texture, folds, highlights, and edges. The comparison below is an illustrative example, not a result from a specific app run.
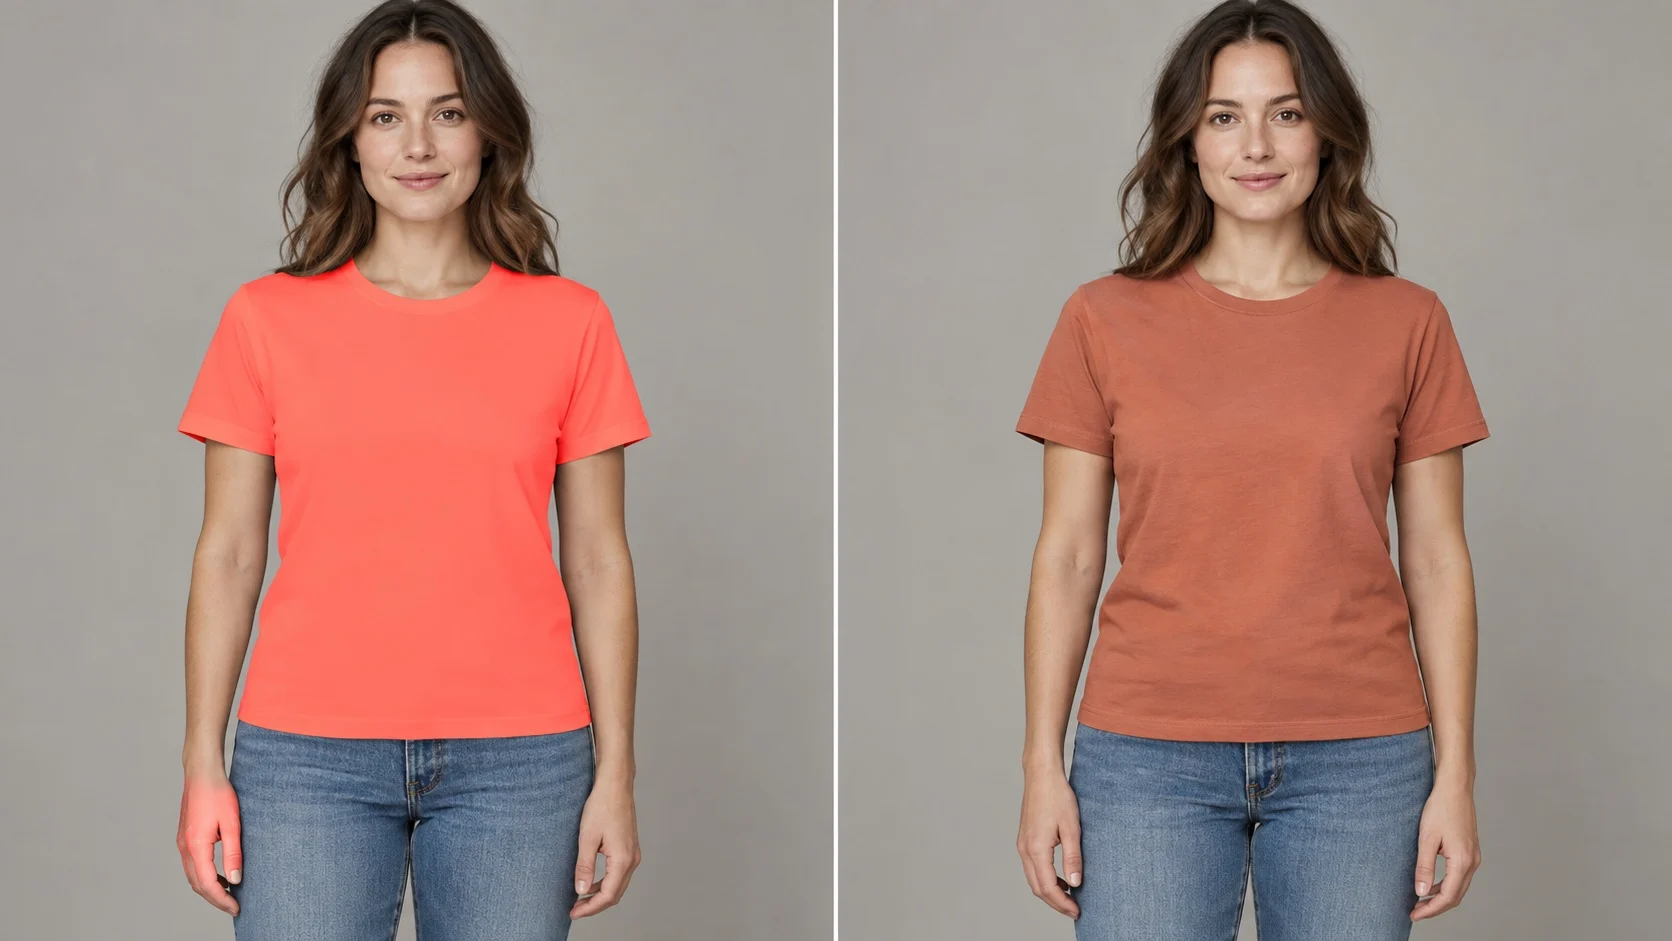
How to change clothes color in a photo
- Start with a clear image. Choose a photo where the garment is in focus and separated from the background. Even lighting makes it easier to judge the original color and the edited result.
- Name the exact item. Say “the blue T-shirt” or “the jacket,” rather than “the clothes,” if other garments should stay as they are.
- Describe the target color. Use a familiar color name and, when helpful, a shade or finish: muted sage green, warm ivory, deep navy, or matte black.
- Preserve the garment’s construction. Ask to keep the same cut, seams, buttons, folds, and fabric texture. For a photo edit, you can also ask to keep the person, pose, skin, lighting, and background unchanged.
- Compare the result at full size. Inspect the edges, shadowed areas, highlights, and any overlapping hair or hands. If the color spills onto another object, make the prompt more specific or start from a clearer image.
Prompt examples for clothing color changes
For one item in a portrait:
Change only the T-shirt to a muted sage green. Keep its shape, neckline, stitching, and natural folds. Preserve the person, face, pose, lighting, and background.
For a darker color that still needs visible texture:
Recolor the jacket to deep navy blue. Keep the original fabric texture, seams, buttons, highlights, and shadows so the material still looks natural. Do not change the shirt or the rest of the photo.
For a reference color:
Match the sweater to the warm terracotta color in the reference image. Preserve the sweater’s knit texture and the original photo’s person, pose, and setting.
If you need a highly specific shade, include a simple color reference instead of relying only on a broad name such as “blue.” Keep the rest of the instruction short and focused on the edit.
What helps a color edit look natural?
Color is affected by lighting. A white shirt in shade may look gray or blue; a black garment can still have bright highlights. The edit should keep those light and dark areas rather than turning every pixel into one flat tone.
It also helps to distinguish color from material. “Make the cotton shirt red” asks for a color change. “Make it a red leather jacket” changes both the color and the fabric, which is a larger outfit edit. If you only want a new color, say to keep the original material and texture.
Common problems and how to fix them
- The color changes the whole outfit. Name one garment and explicitly say to leave the other clothing unchanged.
- The fabric looks flat. Ask to preserve folds, seams, highlights, shadows, and the original texture.
- The shade is too bright or too dark. Add a qualifier such as muted, dusty, deep, or pale, or attach a color reference.
- Edges look soft or spill onto skin. Use a higher-resolution source with the garment clearly separated, and name the boundary that should stay clean.
- The item’s style changes too. Ask to keep the same cut, neckline, sleeve length, buttons, and fit, and only recolor the garment.
AI photo edits can vary, especially where clothing is hidden by hair, hands, bags, or shadows. Treat each output as a draft: compare it with the original and regenerate or refine it if garment details have changed unexpectedly.